Connect the iPad to your Mac
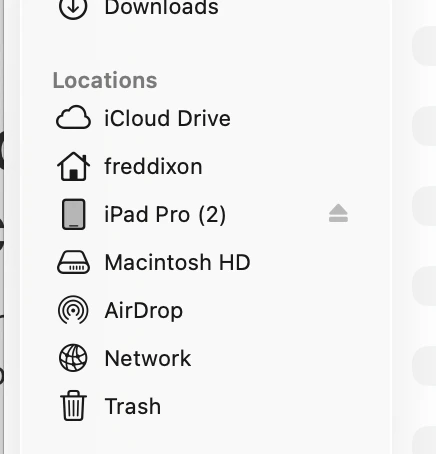
Connect your iPad to your Mac with a USB-C cable. When the iPad prompts you, select Allow.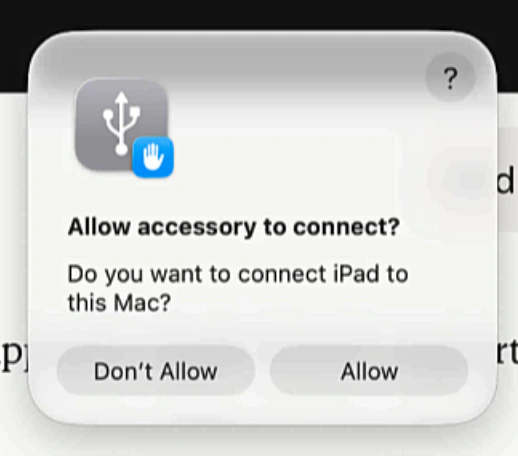
Mirror the iPad with QuickTime Player
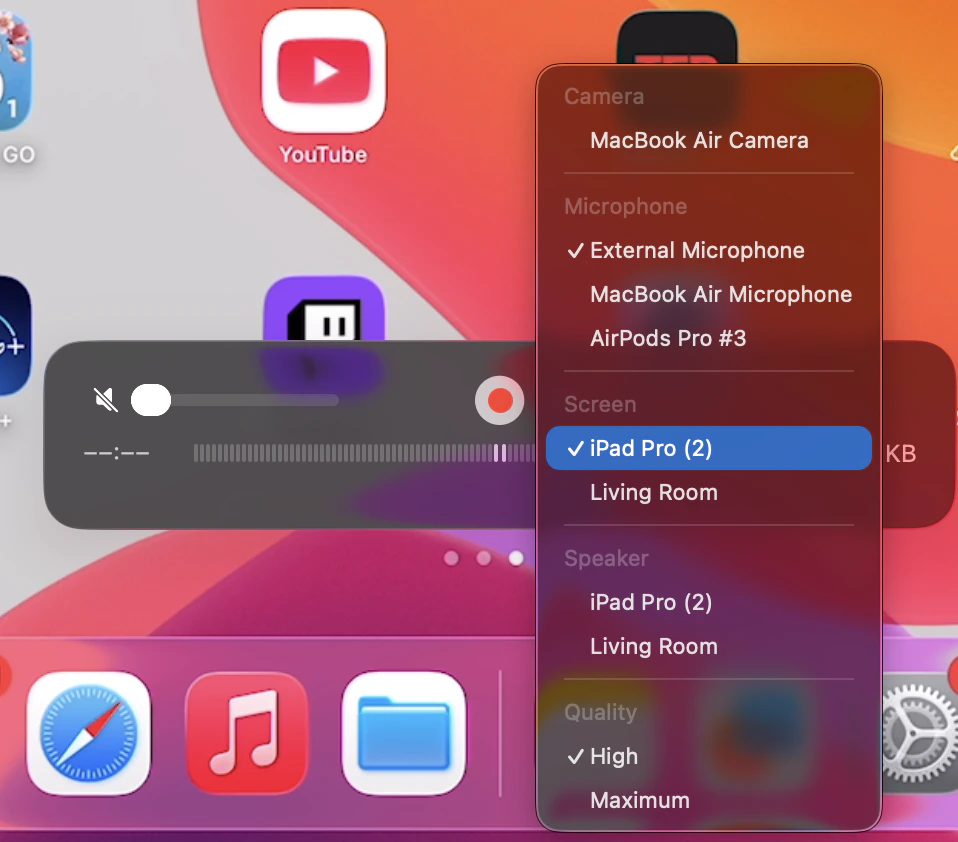
Open QuickTime Player and select New Movie Recording.

Screen-share the QuickTime window
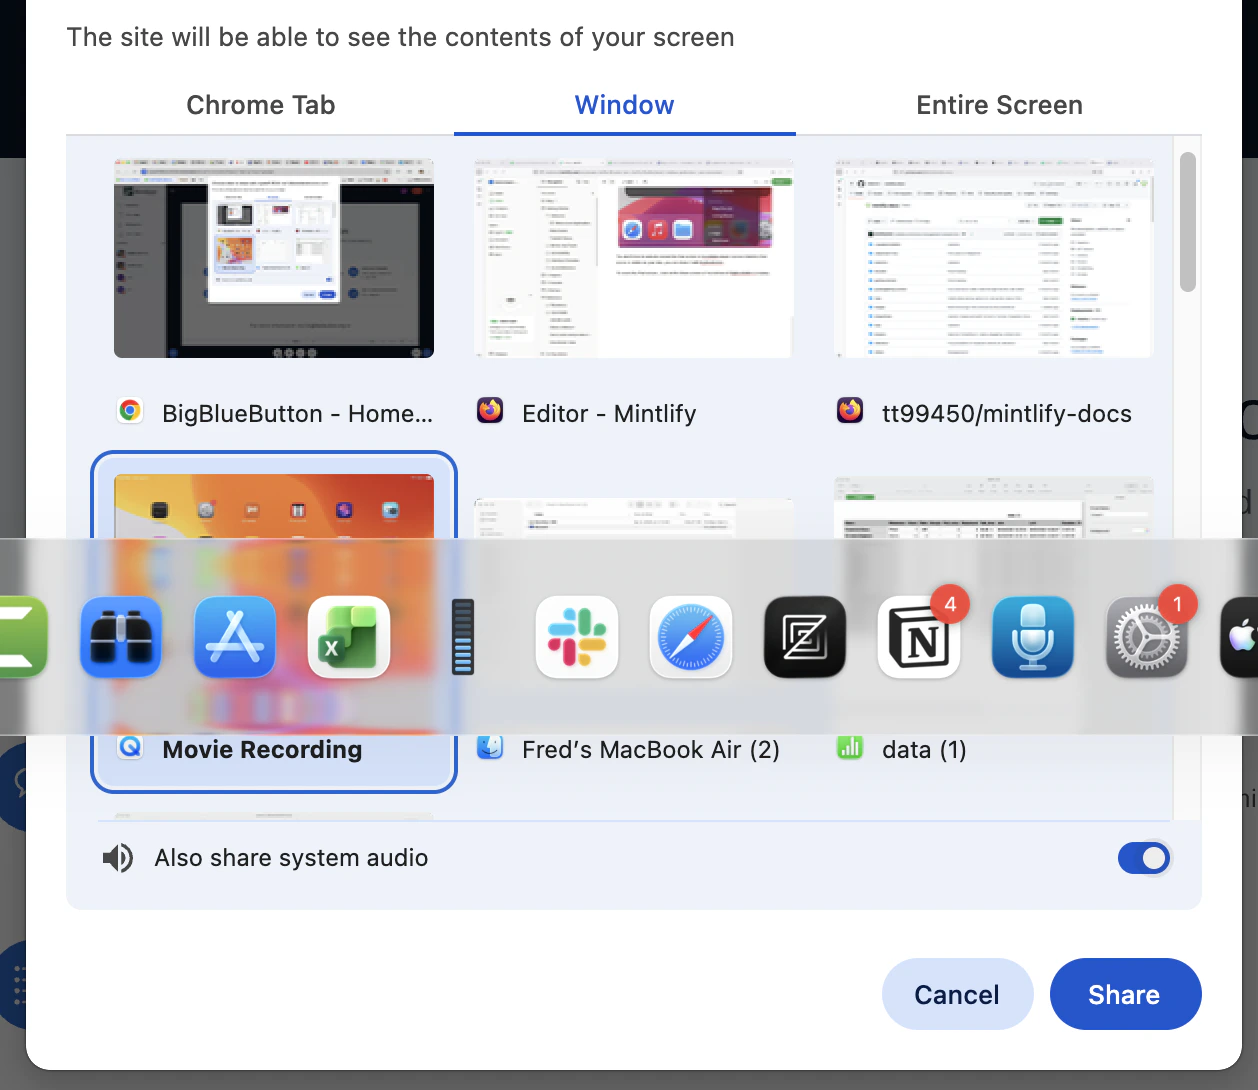
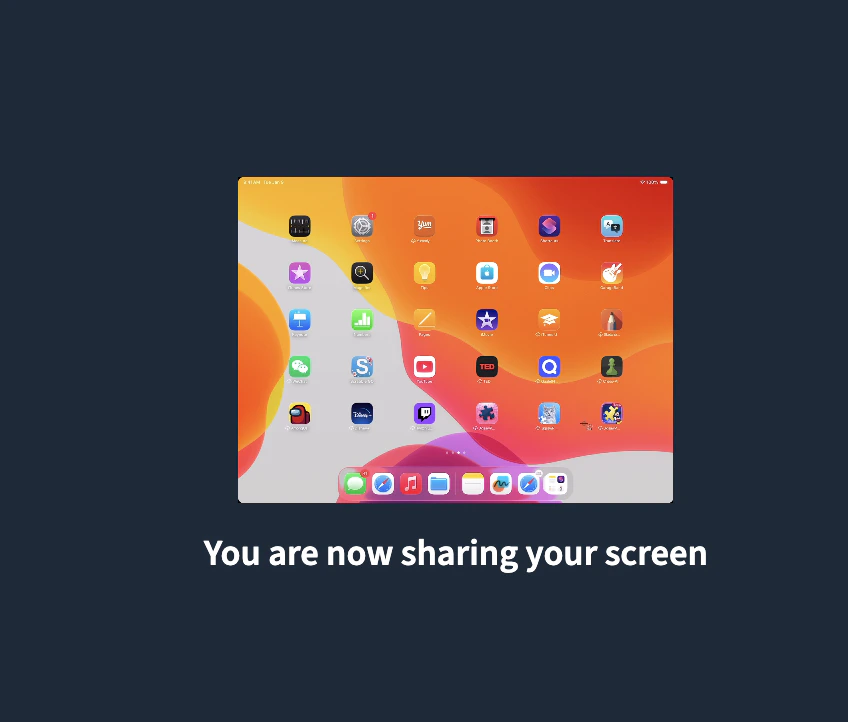
In BigBlueButton, select Share screen in the media bar. Choose Window, then Movie Recording, then Share.